
Imagine you’re looking forward to the new pool season in spring and you look at your pool – but all you see is a sunken cover with water and dirt. The weight of the puddle of water threatens to tear your cover and you wonder how you can remove the cover without dirt, leaves and other debris getting into the clean pool water. The former feeling of anticipation turns into frustration.
This is exactly where our XXL pool cushions come into play – the ideal solution to solve this common problem once and for all.
In this blog post, we show you how to avoid this problem with the right pool cushion and make your pool optimally winter-proof.


As a pool owner, you know the problem. In spring, you want to get the pool ready for the summer season and are faced with a particular challenge: how do you get the pool cover out of the pool without dirt, leaves and other impurities getting into the actually clean water underneath? Often a large puddle of water forms and the tarpaulin is completely sunken in, making the job even more difficult due to its enormous weight.
With the XXL pool cushion, you can avoid these problems and never have to worry about water pockets again!
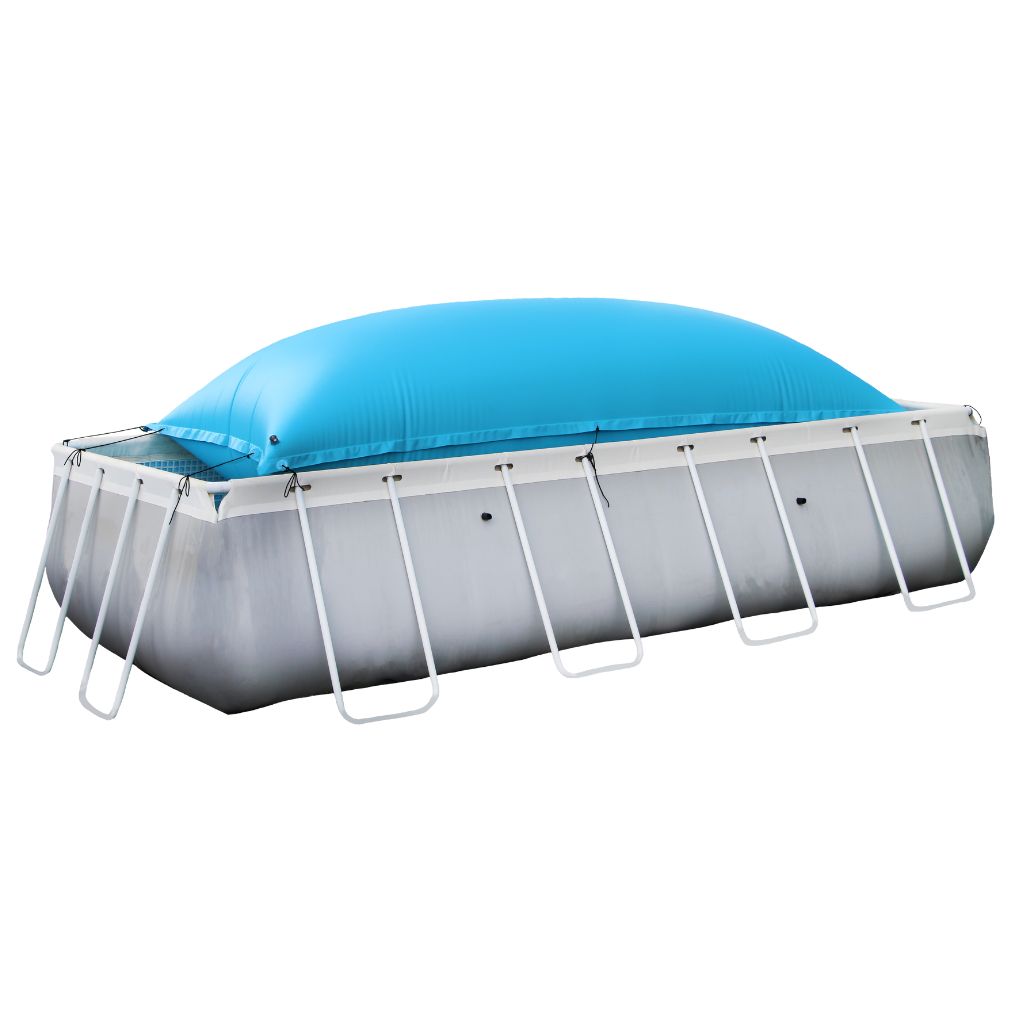
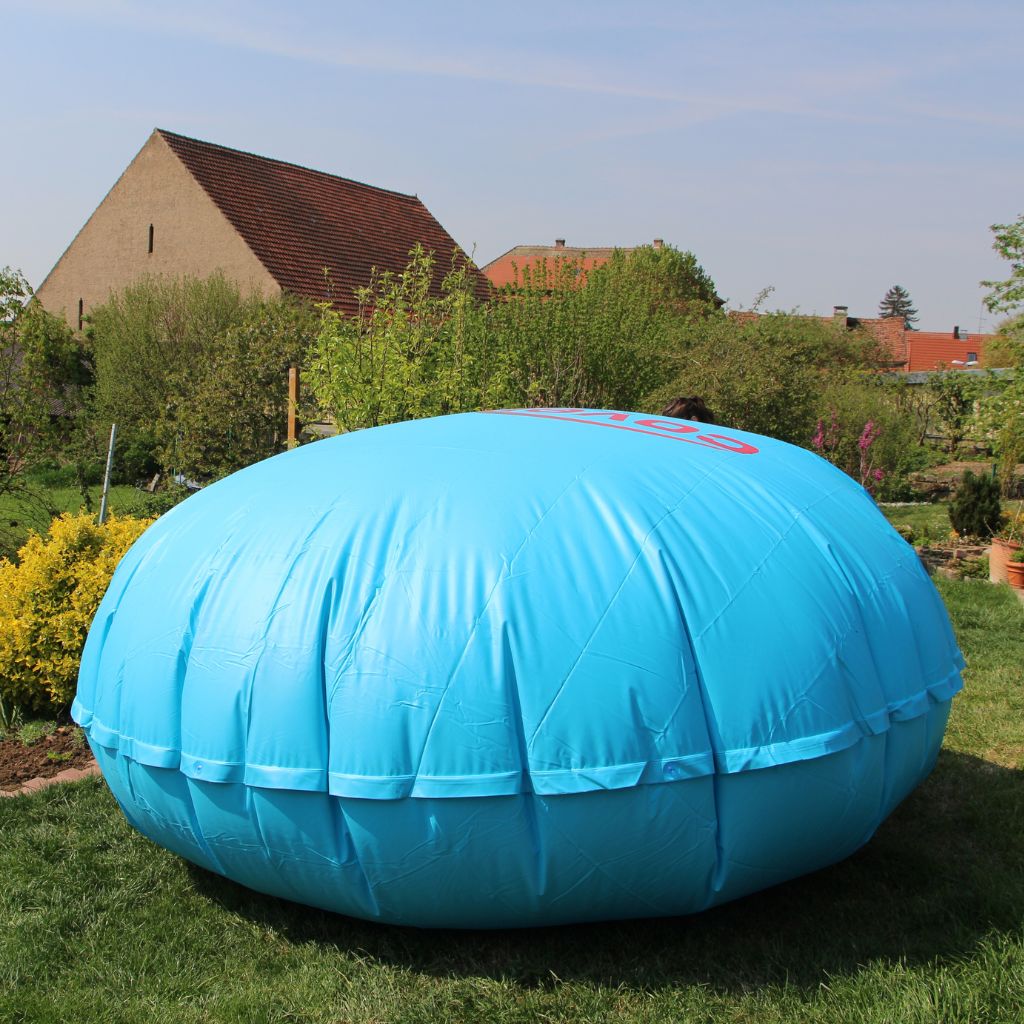
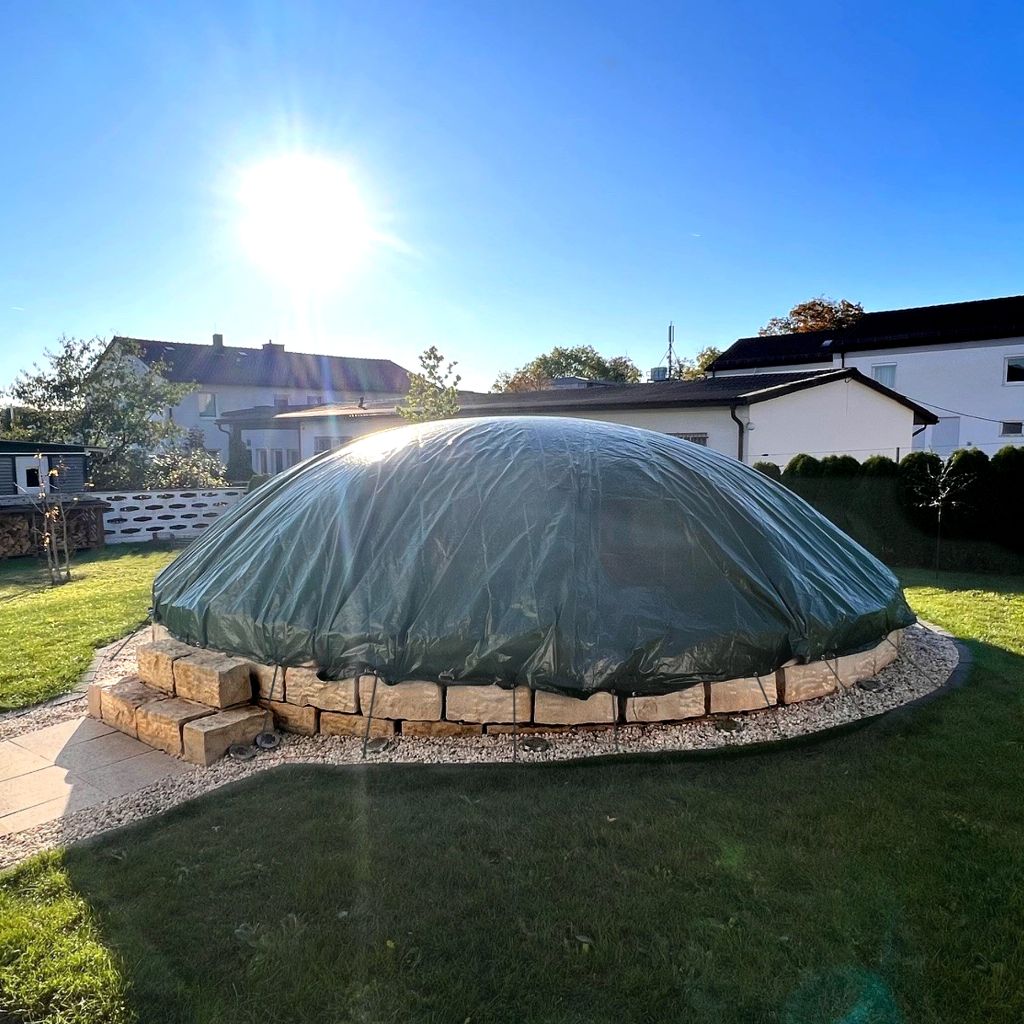
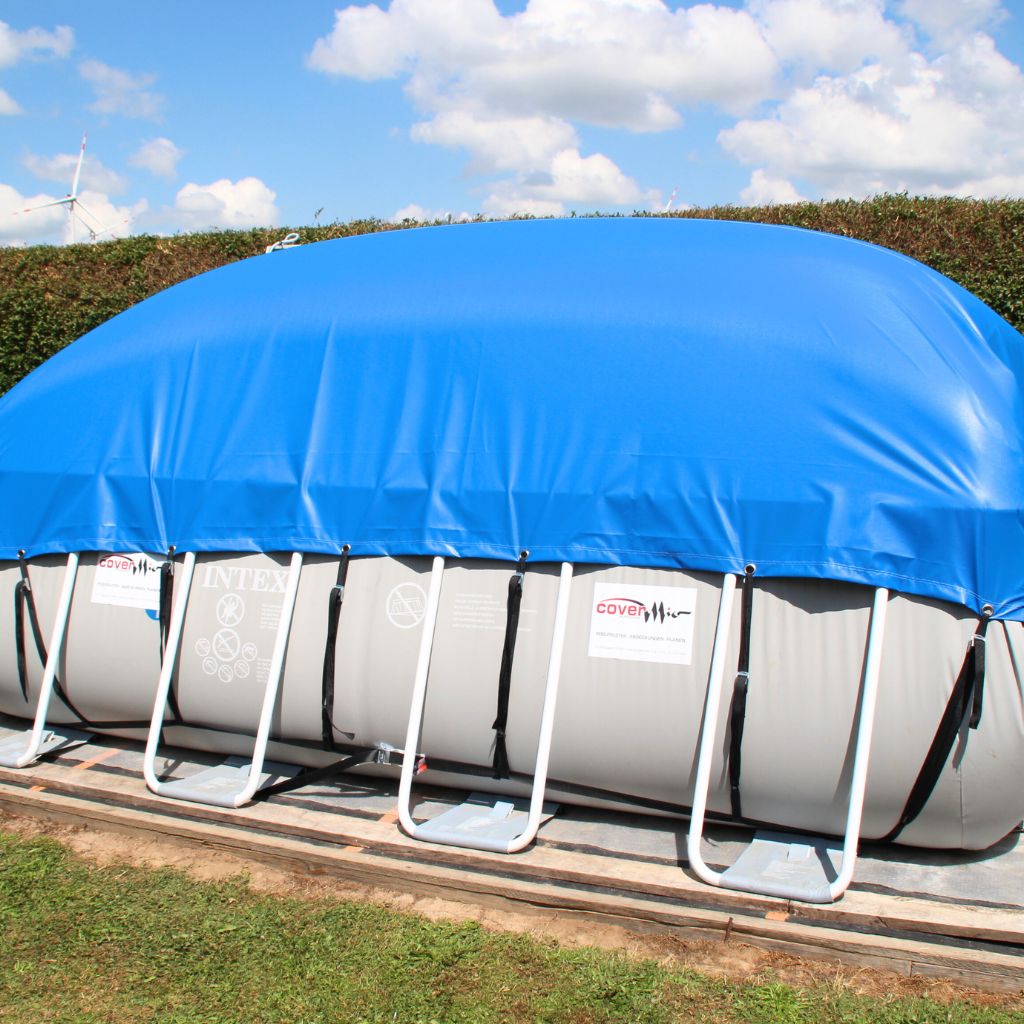
Our round and square XXL pool cushions are available in different sizes (see size chart) so that they fit perfectly on your pool. To get the pool cushion ready for use, fill it with a standard rechargeable air pump or other filling device. Then place it in the middle of your pool and secure it with the cords provided. Once the pool cushion is securely positioned, stretch the pool cover over it. The result is a stable dome that allows rainwater, leaves and dirt to simply drain off to the side and prevents water pockets or dirt from forming on the cover. So you can look forward to a clean pool as soon as summer returns.

Most above-ground pools have a rectangular or round shape. That’s why we also offer the XXL pool cushion in both shapes. You can find the right size for your XXL pool cushion on our overview page.
Tip: When inflated, the pool cushion should still be at least 20 cm from the edge of the pool when inflated. So don’t choose a pool cushion that is too big.

We offer the following formats:
2 x 2.5 m | 2 x 4 m | 4 x 4.5 m | 2.5 x 5 m | 3 x 7 m | Ø 4 m | Ø 5.5 m
The CoverMio XXL pool cushion includes the following:
Summer is over and you want to winterize your pool.
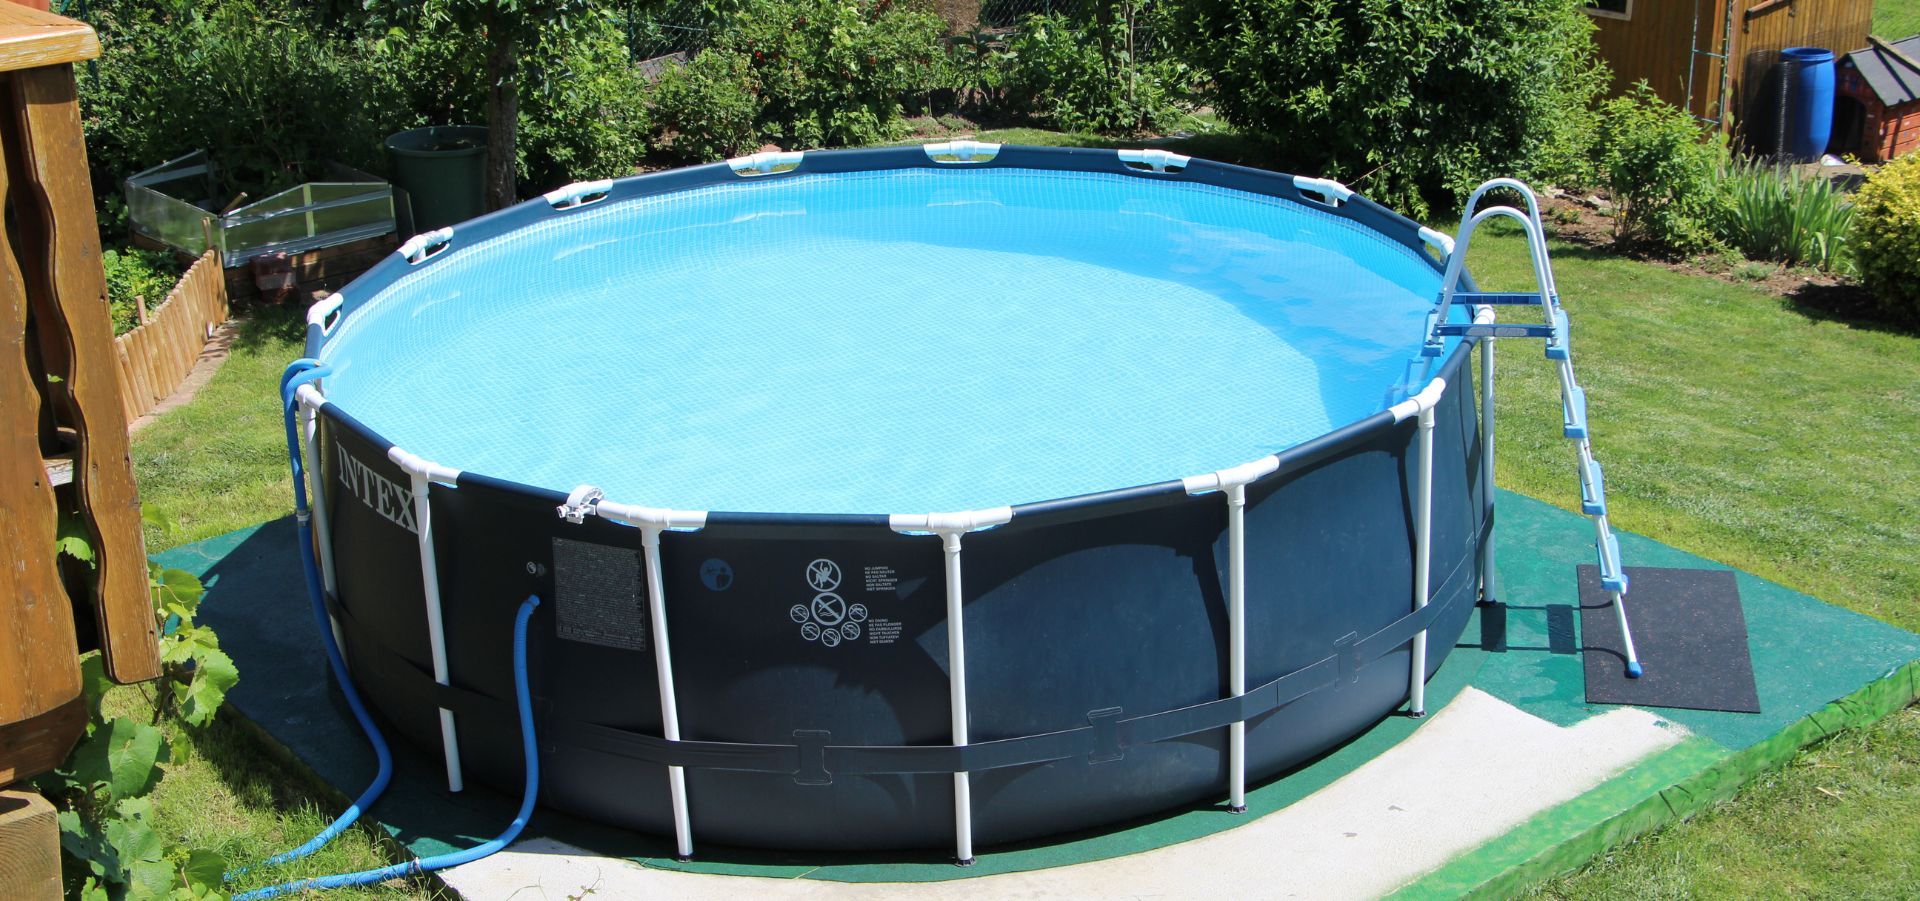
Most pool owners remove the filter system in the fall to avoid frost damage. In order to remove the hoses, some water must be drained up to the first inlet/outlet. For most pools, this is approx. 50-60 cm, measured from the top edge.
Tip: Place a tarpaulin or solar foil on the water surface and then the pool cushion. This prevents the cushion from resting directly on the frozen water in winter and being damaged by sharp-edged pieces of ice.
Water and electricity is not a good combination. Therefore, you should not inflate your new CoverMio XXL pool cushion while lying in the water. We recommend that you choose a dry place next to your pool on a rain-free day and inflate the pool cushion there.
The use of a compressor is only recommended to a limited extent, as it is intended for building up pressure and not for transporting as much air as possible.


Our battery-powered air pumps, which are cordless and therefore mobile, are the most suitable. Alternatively, some of our customers also use vacuum cleaners/industrial vacuum cleaners with a blowing function or existing filling devices. However, make sure that you do not damage the valve of the pool cushion when filling it and never push too large an attachment into the opening.
With our inflation sets, you can be sure that they are compatible with our valve. The adapters are included in the air pump set. If you already have the Einhell battery system at home, you can expand your workshop with the Einhell air pump.
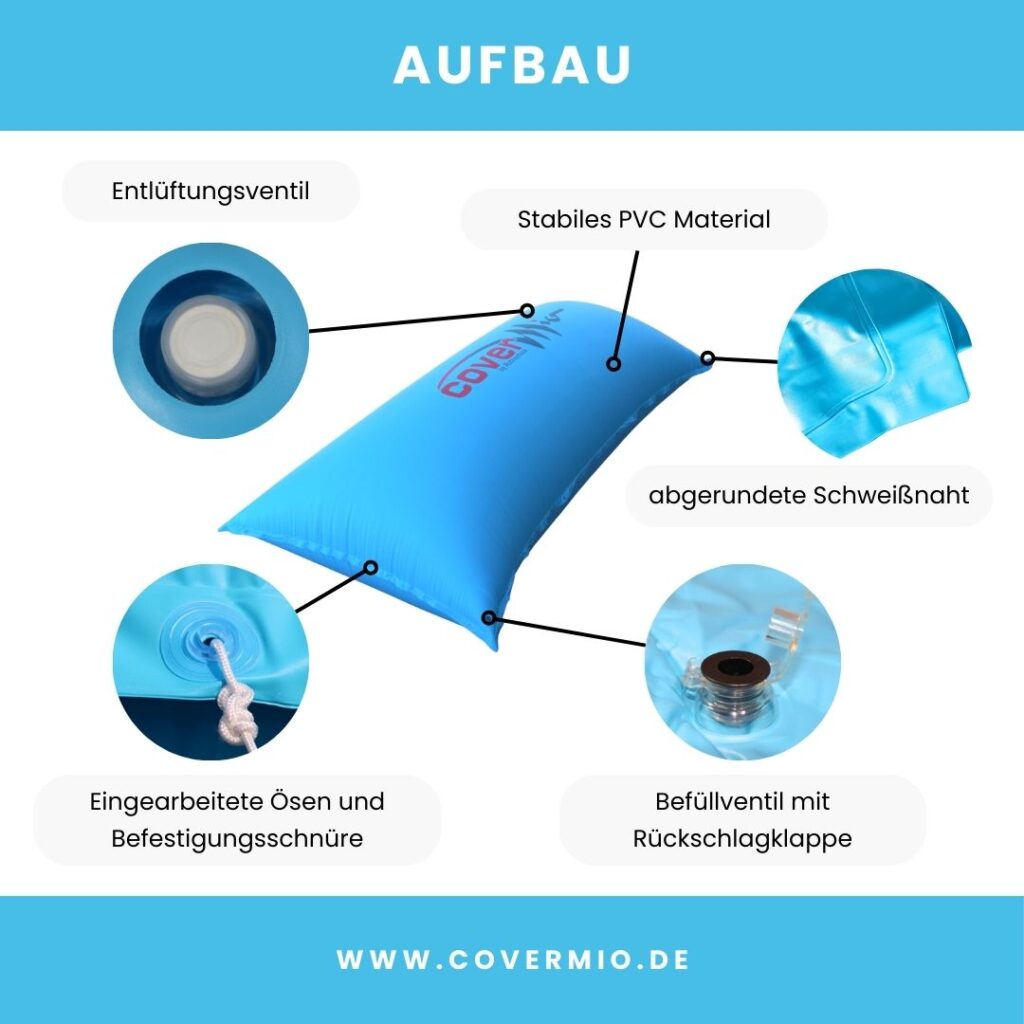
The pool cushion is equipped with eyelets so that you can attach it to the edge of the pool using cords. You can cut the cords to size and attach them to the eyelets before placing the cushion.
It is best to lay the inflated XXL pool cushion on the water surface two by two. Make sure that you don’t get caught on any sharp or pointed edges of the pool.
Now attach the air cushion to the pool frame with the cords.

Please note that you will also need a larger pool cover due to the height of the pool cushion. It is difficult to determine the right size of pool cover. It depends, among other things, on how much water you drain and how plump/high you inflate your pool cushion.
Our tip: Place the inflated pool cushion on the pool and then measure out the size of tarpaulin you need. A projection of 30 to 50 cm over the edge of the pool is ideal. A suitable pool cover should have these three factors:
You can use the quality of truck tarpaulins as a guide. Please note: We do not have any tarpaulins in our range!
Fitting your cover correctly is extremely important. Only a tightly stretched cover will help you to avoid water pockets. As described above, your pool cushion should be a safe distance from the pool edge. It is therefore important to bridge these areas with a tightly stretched cover.
How does this work best?
First an example of how it should not be: The pool cushion is the perfect size for the pool shown. The tarpaulin was laid on top and secured all around with an elastic band. With the first rain, however, a pocket of water forms around the pool. Why? The tarpaulin slides upwards and sinks under the weight of the water.

How can you solve this problem?
You must tension the pool cover downwards so that it cannot slip upwards. You can do this, for example, with the help of ground anchors that you attach around your pool and fasten the pool cover to them using (non-stretchable) ropes. This method is particularly recommended for steel wall pools or built-in pools.

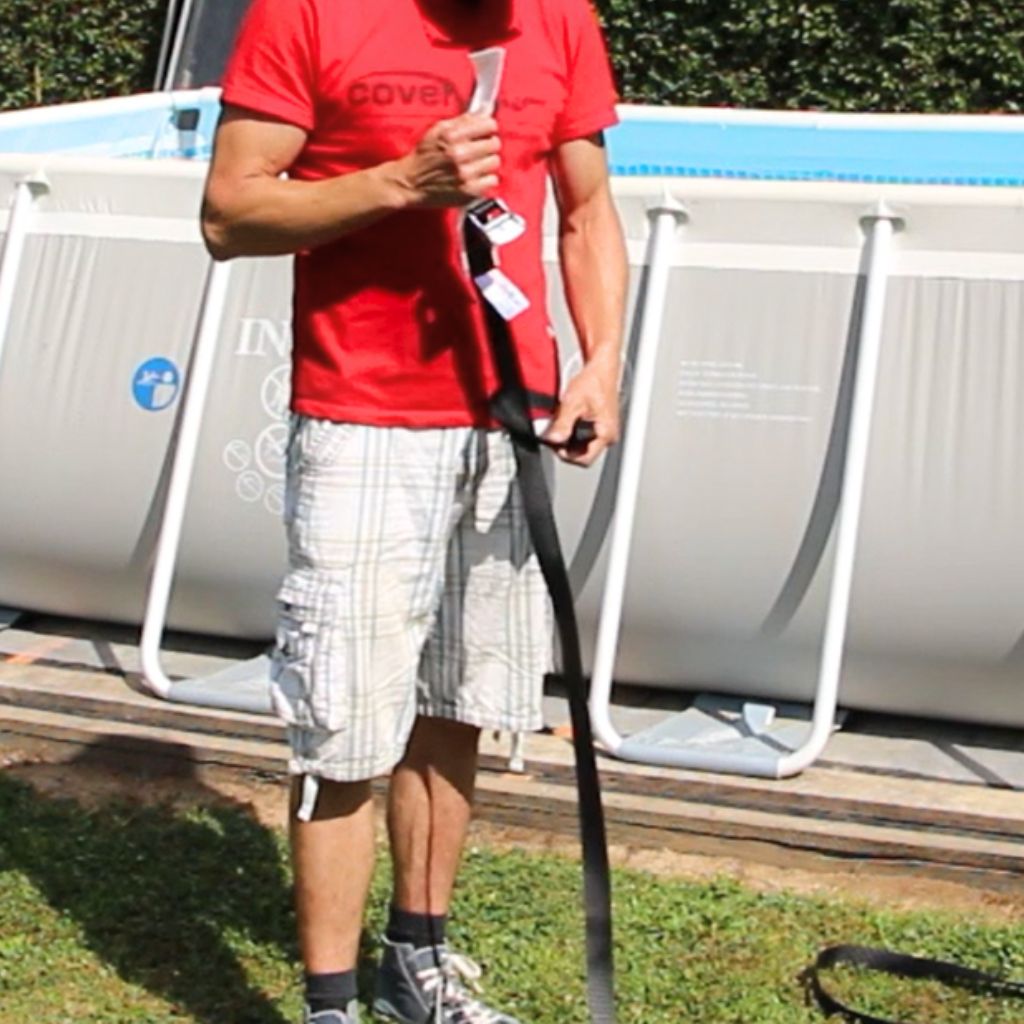
Together with our customers, we have developed a belt system for steel frame pools which ensures that the pool is tensioned tightly at the bottom.
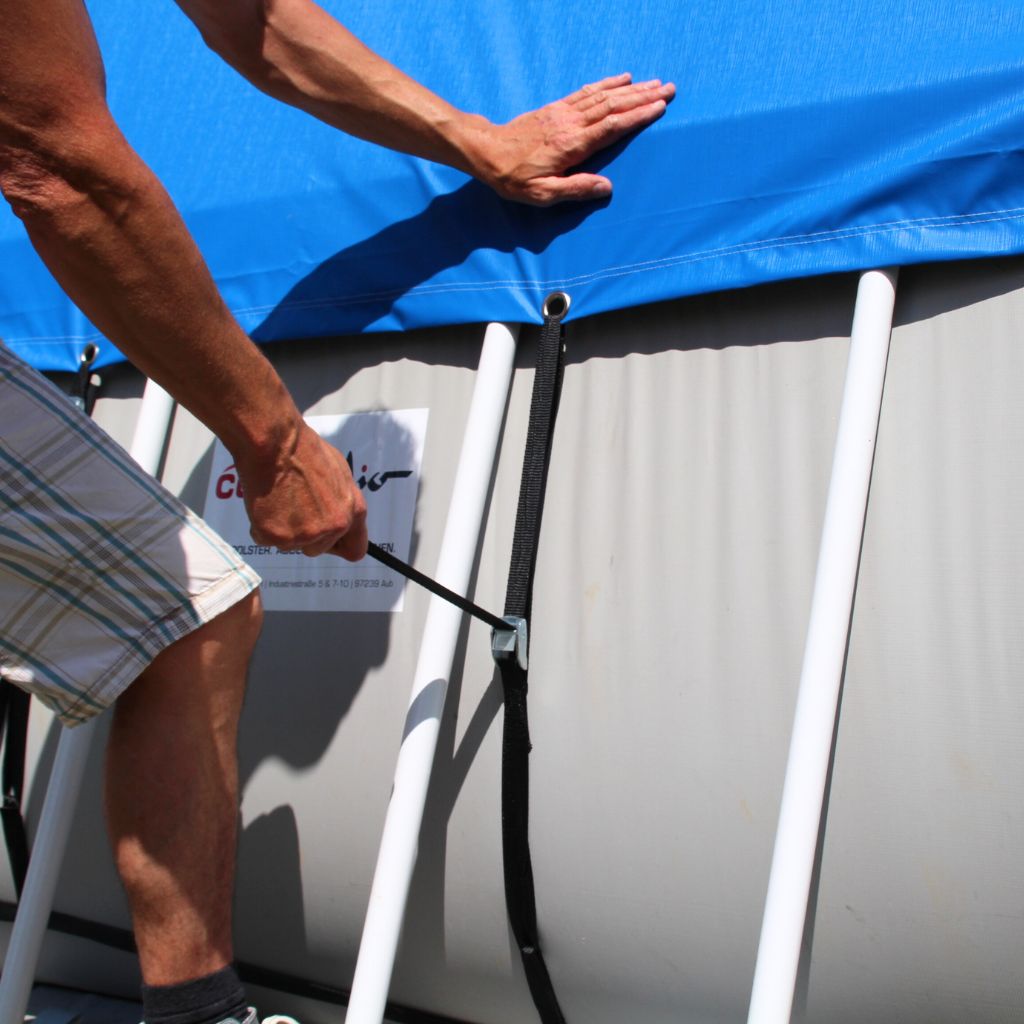
How to install our PoolBelt set: A wide, long belt strap is placed around the bottom of the pool and tightened. For steel frame pools, this is done below the curvature of the pool liner. Thread the supplied loops into the wide belt beforehand and position them at regular intervals around the pool. Now thread the individual vertical straps through the loops and the eyelets of your pool cover. Then pull everything tight and tension your pool cover in the best possible way.
By the way: We supply universal sliding clips with every set, which you can attach to your tarpaulin if it does not have eyelets.


Air expands when it is warm and contracts when it is cold. This basic law of physics becomes particularly clear with large volumes of air. For this reason, it may also be necessary to refill the air cushion in winter.
Example: You inflate your pillow on a warm fall day at 25 degrees. The following days bring the first frosty nights with +/- 5 degrees. You will notice that your pool cushion has lost some of its tension due to the temperature difference of 20 degrees. This is not a fault of the cushion, but physics 🙂
Our tip: inflate your pool cushion on a rather cold day (about as full as you would inflate an air mattress). When the temperature rises and the air in the cushion expands, you don’t need to worry about whether it will withstand the pressure. The cushions have been extensively tested.